Android Dev & Penetration Testing Setup – Part 3: Installing the drozer Attack Framework
Joff Thyer //

Editor’s Note: This is part 3 of a 3 part series. Part 1 discussed configuring your virtual machine engine and virtual hardware emulation. Part 2 covered installing Android for the emulator, and this part covers installing the drozer attack framework.
Once your emulator is up and running, it is now time to have some sideloading fun. The folks at MWR labs have created an awesome Android attack framework called “drozer”. The framework consists of software that needs to be installed on Ubuntu, as well as an “APK” file that needs to be sideloaded onto your emulated Android.
First, you need to download both the “Ubuntu/Debian” package and the drozer Agent APK files from MWR labs. The following screenshots show what you are looking for:


After the downloads are complete, perform the Ubuntu/Debian package installation first, as follows:
$ sudo dpkg -i ~/Downloads/drozer_2.3.4.deb
NOTE: this will look like it totally and utterly fails due to dependency problems. DON’T PANIC! Simply fix it as follows:
$ sudo apt install -f
Seriously? It’s that simple? Yes! This will nicely install all of the required dependencies for you. It seems a little backward, and counterintuitive, but trust me, this will work well.
Here are some screenshots of when I was testing:


Once all of the dependencies are fixed, you can verify whether drozer runs as shown in this screenshot.

Side-Loading the Drozer Agent APK
Now it’s time to use our Android emulator to sideload the drozer APK package. In addition to this, if we have another APK we want to perform penetration testing against, we probably want to sideload that APK file as well.
The first steps are to make sure your emulator is running, check access with ADB, and sideload packages as needed.
$ emulator -avd pentest1 &
$ adb devices
List of devices attached
emulator-5554 device
$ adb install ~/Downloads/drozer-agent-2.3.4.apk
[100%] /data/local/tmp/drozer-agent-2.3.4.apk
   pkg: /data/local/tmp/drozer-agent-2.3.4.apk
Success
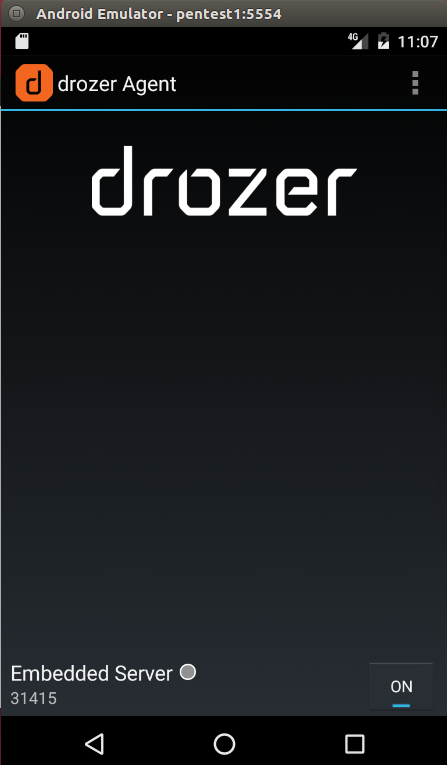
If all goes as planned, you should be able to locate the drozer Agent within your Android App list.

In order to use “drozer”, we must start the agent App on the Android emulator, and then turn on the embedded server, which listens on TCP port 31415. In addition to this, we must use “ADB” to forward the TCP port 31415 to the Android emulator so that we may communicate between the Ubuntu host and the Android drozer Agent. After forwarding the TCP communications, use the “drozer” command under Ubuntu to connect to the drozer console.

At this stage, we have a fully operating attack framework and can use many of the reconnaissance, scanning, and attack commands that drozer provides for us. The example below simply lists Android packages on the system.

The various drozer modules have appropriate help associated with each. From a penetration testing perspective, you should treat this like any other penetration testing activity, meaning you need to perform reconnaissance, APK package information gathering of various providers, intents, broadcast receivers and so forth before starting to exploit some of the inherent weaknesses.

That should do the trick. I hope this prompts another complete set of new learning activities for you. There is a tremendous amount of resources about Android basics and architecture that you can obtain by reading the API guides. Visit https://developer.android.com for lots more information. Happy mobile hunting!
You can learn more straight from Joff himself with his classes:
Regular Expressions, Your New Lifestyle
Enterprise Attacker Emulation and C2 Implant Development
Available live/virtual and on-demand!
