
Juniper Two Factor VPN & Linux
On a recent internal penetration test engagement, I was faced with using a Juniper VPN to access the target network. One small problem, Juniper does not formally support Linux operating systems. The Juniper Pulse and Pulse Secure clients are only available for Windows and OSX.
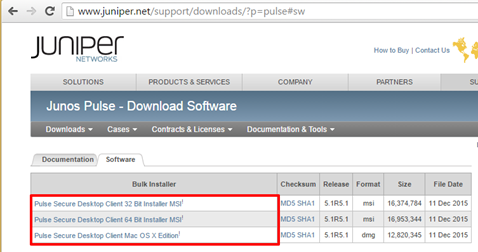
Since I didn’t have an OSX system I would have been forced to give up several tools that are extremely useful. I did a fair amount of searching and found several solutions to the problem. However, many were somewhat complex and had a time investment requirement that just didn’t make sense for my temporary access requirement.
In the end, I found the following post the most useful for successfully connecting.
Since, I was only connecting to this device on a temporary basis I just bypassed the Grease Monkey script and used a simple substitution. The process is outlined below.
OpenConnect
First, install OpenConnect using your favorite package manager. In order to make this work, you have to be running OpenConnect v7.05 or later. Starting with v7.05, the OpenConnect client has the –jupiter switch included which provides “experimental” connectivity to Juniper VPN devices. Documentation for this switch is available at the following URL:
http://www.infradead.org/openconnect/juniper.html
You won’t find this information or evidence of the switch in the man page or help for OpenConnect.
Cookie Manager
Next, you’ll need a cookie manager. To prepare for building your SSL Tunnel you’ll need to log onto the VPN web interface. This will place the DSID session cookie into your browser cookie storage. Once it is there, we will grab the value and pass it to OpenConnect on the command line in order to complete authentication. For this purpose, I just used Cookies Manager+ which I keep installed for web application penetration test engagements.
The Full Process
Now that all of the prerequisites have been met, we’ll log into the Juniper Web Interface. Log in using your user account, pin, and token value. Your pin is set up when you first access the VPN web interface. The passcode seen below is your pin and current two factor token value concatenated in that order.
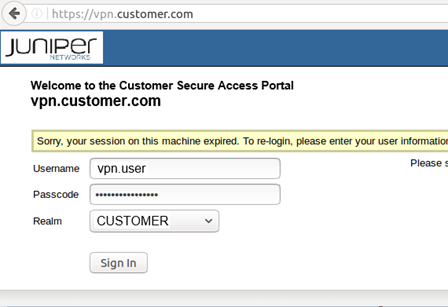
After successfully authenticating to the web interface, your browser will have multiple cookies set for the Juniper site. Open your cookie manager to review them. One of these cookie values has the name DSID. This value is necessary to complete the authentication process. Copy the value into your clipboard.

Next, open a root shell and execute the following command to establish an SSL VPN tunnel with the target VPN concentrator.

After executing this command, you should see output similar to the following indicating the progress of the negotiation process.

Voila…successful tunnel negotiation with a Juniper SSL VPN concentrator and nearly zero overhead.
Ready to learn more?
Level up your skills with affordable classes from Antisyphon!
Pay-Forward-What-You-Can Training
Available live/virtual and on-demand

Stan M.
September 14, 2016 @ 7:46 pm
This works for me, up to a point:
>WARNING: Juniper Network Connect support is experimental.
>It will probably be superseded by Junos Pulse support.
> … this is all correct …
>Connected tun0 as 10.50.0.22, using SSL
At this point, it hangs indefinitely and I never get the “ESP session” output.
Any help?
David Fletcher
September 15, 2016 @ 10:54 am
Did you try to connect to any in internal computers in another terminal session? When you connect to the VPN concentrator you don’t get control of the terminal window back unless you terminate the VPN session. As a result, you have to open a new window to attempt to use the tunnel adapter. It looks like you are actually connected because the tunnel adapter has been created (tun0) and you have been assigned an internal IP address.
Jonathan R
September 30, 2016 @ 3:39 pm
You just saved me a lot of trouble !
Thanks for taking the time to write this blog post.
BHIS
October 3, 2016 @ 7:41 am
This makes all the sweat and tears of writing blog posts worth it! Thanks for letting us know it was helpful!
Michael
October 27, 2016 @ 12:42 pm
My attempt at this results in “Got HTTP response: HTTP/1.1 302 Found” followed by “Unexpected 302 result from server” and “Creating SSL connection failed”. Have you encountered this before?
lupo lupov
April 4, 2017 @ 1:08 pm
Thank you very much, really muuuuuch.
Finally it works every time, not like by now… connecting randomly 1 of 20