
Android Dev & Penetration Testing Setup – Part 2: Installing Android Studio
Joff Thyer //

Editor’s Note: This is part 2 of a 3 part series. Part 1 discussed configuring your virtual machine engine and virtual hardware emulation. Part 2 (this part) covers installing Android for the emulator, and Part 3 covers installing the drozer attack framework.
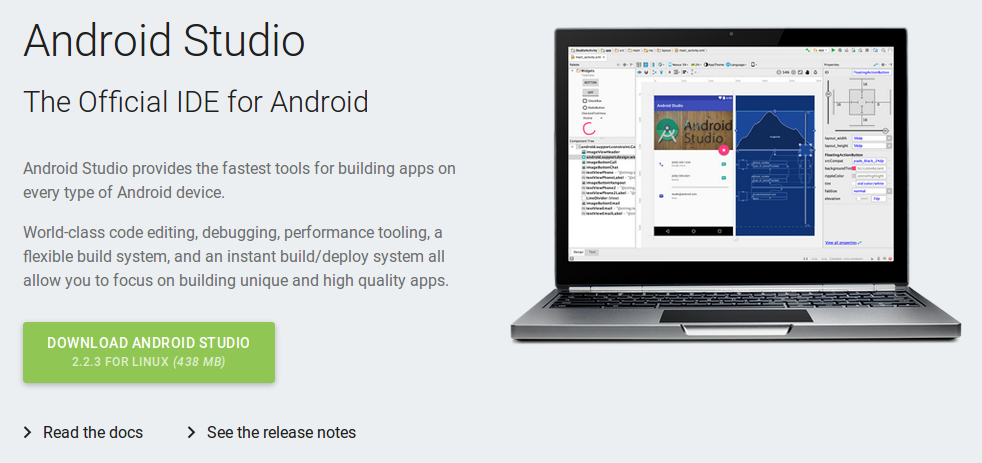
After the Java installation has finished, you will need to visit the Android Studio download page and install the latest Linux version of Android Studio.
Visit https://developer.android.com/, and download the Linux package. If you use Firefox on the Ubuntu machine itself, the download page will look like this:
When the download finishes, make sure you are in your regular, unprivileged user home directory, and unzip the package.
$ cd $HOME
$ unzip ./Downloads/android-studio-ide-xxx.yyy.zip

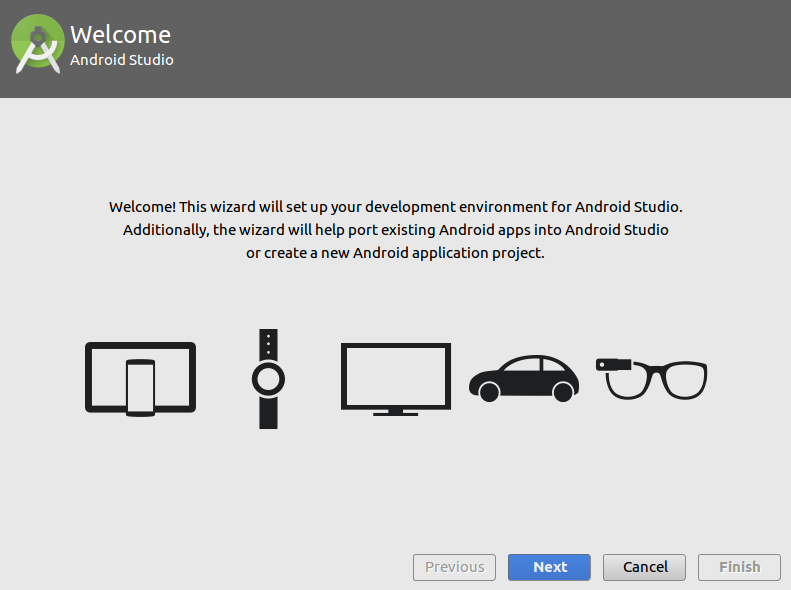
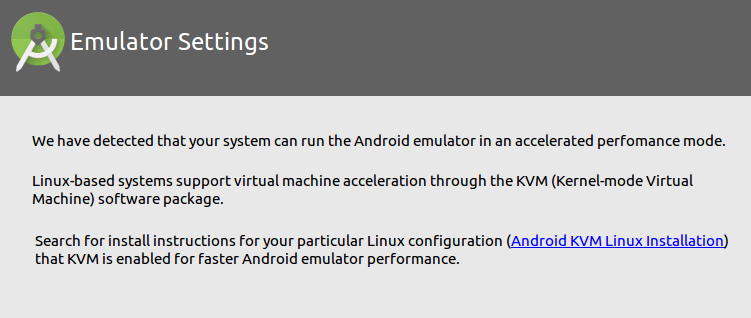
At this point, we need to run the Android Studio installation exclusively for the reason of obtaining the right software packages to run Android emulation. In other words, after the installation completes successfully, we will just quit Android Studio.
To start the installation, we run the android-studio shell startup script as follows:
$ cd $HOME
$ ./adnroid-studio/bin/studio.sh
During the installation, much of the software development kit will be downloaded, which will be several hundred megabytes of data. You should accept all of the default options as this installation takes place. Below are the screenshots for your reference.


You can now close Android Studio.
Unfortunately on a 64-bit Ubuntu system, there is a small dependency issue which will prevent the Android Virtual Device emulation system from running properly. This is because the appropriate C++ libraries for 32-bit are not installed by default on Ubuntu. This is easily remedied with the following recipe of installing the right package and then creating a symbolic link to the needed shared library.
$ sudo apt-get install lib64stdc++6:i386
$ cd ~/Android/Sdk/tools/lib64/libstdc++
$ mv libstdc++.so.6 libstdc++.so.6-OLD
$ ln -s /usr/lib64/libstdc++.so.6
Before proceeding any further, you also will need to add the Android Studio tool directories to your PATH statement for the regular user, making things MUCH easier to use. There are two directories you need to add to the PATH, which can be achieved by editing the “.profile” file, then logging out and back in again after changing the PATH. Below is a screenshot of the changes made on my system. The two directories that must be in your PATH are:
$HOME/Android/Sdk/tools
$HOME/Android/Sdk/platform-tools

Installing Android Version 6.0 for the Emulator
Now that you have logged out and back into your Ubuntu system, you will need to start up the package management component of Android Studio so that you can download a version of Android, and a binary to use for emulation.

$ android
You should see an opportunity at this stage to install various Android APIs. Be careful what you choose, these can eat up a lot of hard disk space, especially if you choose to emulate the TV and wearable images. For this article, the screenshot below shows me selecting the Intel images and Android APIs to install.

To complete the package installation, click on “install packages”. After the downloads complete, exit this GUI.
Creating an Emulated Device
In order to start up the Android Virtual Device Manager, type the command “android avd” as follows:
$ android avd
Next, we will create an emulated virtual device using the “Intel Atom 64-bit” image, and a Nexus 4, which has only modest memory requirements. Click on the “Create” button to create a new AVD.

The options we are going to use to create our AVD are as follows:
- Name: pentest1
- Device: Nexus 4
- Target: Android 6 – API Level 23
- No skin, and Emulated Camera
- 2048 MB RAM, and make sure to select the “Use Host GPU” button

If everything is working correctly, you should see a popup showing the options that the device was created with. You should then see the new device in the list of AVDs on the main screen. You can now close this window.
To check for the list of AVDs in your emulation library, you can do this:
$ emulator -list-avds
pentest1
You should see the new “pentest1” AVD that you just created. To start the emulator, use the command as follows:
$ emulator -avd pentest1
If everything goes as planned, you should see a nice Android emulator pop up on your screen.

_____
Editor’s Note: Check out Part 3: Installing the drozer Attack Framework.
You can learn more straight from Joff himself with his classes:
Regular Expressions, Your New Lifestyle
Enterprise Attacker Emulation and C2 Implant Development
Available live/virtual and on-demand!
